
You are using an out of date browser. It may not display this or other websites correctly.
You should upgrade or use an alternative browser.
You should upgrade or use an alternative browser.
LyteHouse Inc.
- Thread starter LyteHouse
- Start date

BuffyElevated
Scooby
Tasha
Dn'* letthespacebugsbite!

You mean the glow around Buffy in "One Girl"? Thats actually a really easy effect you can do with just 3 simple layers. Imma can show you if you're really interested. 😱
I'm totally interested! Show me, show me 🙂

D'awws. Thanks everyone. Imma totally blushin'! :blush:
LOL Its a mixture of both. I totally forgot to add sources. Some images are from Dark Horse's Firefly comics and some are movie photos that I painted over to give them a comic effect. You can find all these in Google Images.
Oh yeah, the glow thing, ish really easy 😀.
Okies, Imma using CS5 extended but this will work on any version of Photoshop me thinks.
First, open up a new image. You can make it any size you want but you want to make it at least 600x600. Then, fill this layer in black. This will be the background.
Next, make a new layer on top of it. Call this layer 'Glow'. Change your foreground colour to something bright and vivid. I used a hot pink (ff00f6) but you can experiment if you want. Now, select your paint brush tool and on the top of the screen where the options are, use the little drop-down arrow to select your type of brush. Choose a nice big, soft, fuzzy brush and increase the size to about 500 or 600 pixels.
Now just click your paint brush once in the middle of the screen, and it should look like this:

On the layers panel, right-click this layer and select 'blending options'. In this new window, click on Gradient Overlay (make sure you click on the words 'Gradient Overlay' and not just check the box). The image will probably change to black and white because this is the default gradient.
Now, see this bar in the middle that says 'Gradient'? Click on that:
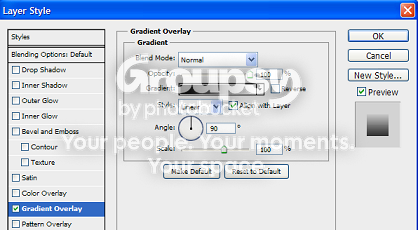
The Gradient Editor window will open. You want to change the colour of the the bar on this screen. Click on the bottom tabs of this bar to change the colours. I used the same hot pink (ff00f6) for the left-hand side and a light blue (00deff) for the right:
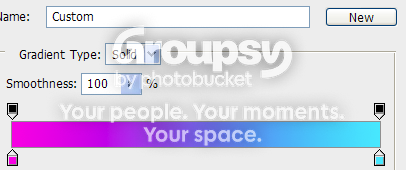
Click okay for everything to exit back out and it should look something like this:

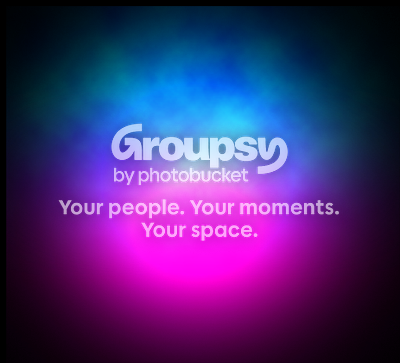
Create another new layer on top, call this layer 'Clouds'. On the top options, simply go to Filter/Render/Clouds. This will cover the whole image but don't panic! On the layers panel just change the blending mode from 'Normal' to 'Overlay'. And there you have this really cool glow effect:
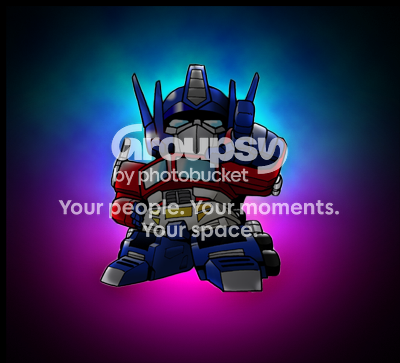
All you need to to do now is just put whatever image you want over the top. For added effect, on your new image, right click and select blending options and add an outer glow. Play with the size and colour and you'll notice the outer glow will react with the background to make a halo effect. Imma made this wee Optimus Prime one as a quick example. Me luffs Optimus Prime:
Also, if you want to change the shape of the glow, simply highlight the 'Glow' layer and hold Alt+T. You can now warp the shape of the glow to suit your image. Yuppers.
xfivebyfive said:That's beautiful I love Firefly <3 Are those comic pics or real pics I can't tell lol.
LOL Its a mixture of both. I totally forgot to add sources. Some images are from Dark Horse's Firefly comics and some are movie photos that I painted over to give them a comic effect. You can find all these in Google Images.
I'm totally interested! Show me, show me 🙂
Oh yeah, the glow thing, ish really easy 😀.
Okies, Imma using CS5 extended but this will work on any version of Photoshop me thinks.
First, open up a new image. You can make it any size you want but you want to make it at least 600x600. Then, fill this layer in black. This will be the background.
Next, make a new layer on top of it. Call this layer 'Glow'. Change your foreground colour to something bright and vivid. I used a hot pink (ff00f6) but you can experiment if you want. Now, select your paint brush tool and on the top of the screen where the options are, use the little drop-down arrow to select your type of brush. Choose a nice big, soft, fuzzy brush and increase the size to about 500 or 600 pixels.
Now just click your paint brush once in the middle of the screen, and it should look like this:
On the layers panel, right-click this layer and select 'blending options'. In this new window, click on Gradient Overlay (make sure you click on the words 'Gradient Overlay' and not just check the box). The image will probably change to black and white because this is the default gradient.
Now, see this bar in the middle that says 'Gradient'? Click on that:
The Gradient Editor window will open. You want to change the colour of the the bar on this screen. Click on the bottom tabs of this bar to change the colours. I used the same hot pink (ff00f6) for the left-hand side and a light blue (00deff) for the right:
Click okay for everything to exit back out and it should look something like this:
Create another new layer on top, call this layer 'Clouds'. On the top options, simply go to Filter/Render/Clouds. This will cover the whole image but don't panic! On the layers panel just change the blending mode from 'Normal' to 'Overlay'. And there you have this really cool glow effect:
All you need to to do now is just put whatever image you want over the top. For added effect, on your new image, right click and select blending options and add an outer glow. Play with the size and colour and you'll notice the outer glow will react with the background to make a halo effect. Imma made this wee Optimus Prime one as a quick example. Me luffs Optimus Prime:
Also, if you want to change the shape of the glow, simply highlight the 'Glow' layer and hold Alt+T. You can now warp the shape of the glow to suit your image. Yuppers.
G
GrrArghx
Wow!!! Awesome! Thank you! :D

Taake
awesome dude, thanks!
It's been a while since I made anything.
So Imma made a couple more High-Def widescreen wallpapers for you guys to commemorate the end of Season 8 and the beginning of Season 9.
Season 8 in all its over-the-top bat-shit insanity and hopefully a return to simpler times in Season 9.
Again, these are 1920x1080, if anyone wants a different ratio/size then let me know.
These were made using a combination of comic book images, stock photos and wine.
So Imma made a couple more High-Def widescreen wallpapers for you guys to commemorate the end of Season 8 and the beginning of Season 9.
Season 8 in all its over-the-top bat-shit insanity and hopefully a return to simpler times in Season 9.
Again, these are 1920x1080, if anyone wants a different ratio/size then let me know.
Season 8

Clicky for full size 1920x1080 ---> http://i170.photobucket.com/albums/u245/DeathsHead77_photo/Season8-1.jpg
Season 9

Clicky for full size 1920x1080 ---> http://i170.photobucket.com/albums/u245/DeathsHead77_photo/Season9.jpg

Clicky for full size 1920x1080 ---> http://i170.photobucket.com/albums/u245/DeathsHead77_photo/Season8-1.jpg
Season 9

Clicky for full size 1920x1080 ---> http://i170.photobucket.com/albums/u245/DeathsHead77_photo/Season9.jpg
These were made using a combination of comic book images, stock photos and wine.

C
charmedones193
Guest
Awws, thanks for the kind words you guys, Imma blush! 😱
Anyways, out of extreme boredom I made youse a couple more High-Def wallpapers (1920x1080).
As usual, for best results, click the links or simply click the pics.
Big Bad

Clicky:------> http://i170.photobucket.com/albums/u245/DeathsHead77_photo/BigBad_Final.jpg
To The Ends Of The Earth

Clicky:------> http://i170.photobucket.com/albums/u245/DeathsHead77_photo/Angel_ToTheEnd_Final.jpg
These were made using comic book images I scanned, stock pics and a lot of simple tricks and nonsense. 😛
Anyways, out of extreme boredom I made youse a couple more High-Def wallpapers (1920x1080).
As usual, for best results, click the links or simply click the pics.
Big Bad

Clicky:------> http://i170.photobucket.com/albums/u245/DeathsHead77_photo/BigBad_Final.jpg
To The Ends Of The Earth

Clicky:------> http://i170.photobucket.com/albums/u245/DeathsHead77_photo/Angel_ToTheEnd_Final.jpg
These were made using comic book images I scanned, stock pics and a lot of simple tricks and nonsense. 😛
BuffyElevated
Scooby

Chosen Enemy
Losing my soul
- Joined
- Aug 11, 2010
- Messages
- 3,430
- Age
- 40

Nix
🤪
Thankies for the kind words you guys, you flatter and embarrass me. 😱
Anyways, I keep getting asked if I'll make some wallpapers with live actors. I normally loathe working with promo-shots or screen-caps - they always feel staged or just not vibrant enough. But Imma gave it a go with these Firefly attempts.
I've always liked the mysterious Blue Sun mythos than runs through the series, so Imma paid a little homage to that.
Again, these are 1920x1080, so if you want the full effect just click the links or simply click on the pics.
Hope you enjoy.
Anyways, I keep getting asked if I'll make some wallpapers with live actors. I normally loathe working with promo-shots or screen-caps - they always feel staged or just not vibrant enough. But Imma gave it a go with these Firefly attempts.
I've always liked the mysterious Blue Sun mythos than runs through the series, so Imma paid a little homage to that.
Again, these are 1920x1080, so if you want the full effect just click the links or simply click on the pics.
Blue Sun: Mal

High Def 1920x1080 -----> http://i170.photobucket.com/albums/u245/DeathsHead77_photo/Blue-Sun-Mal-Final.png
Blue Sun: Jayne
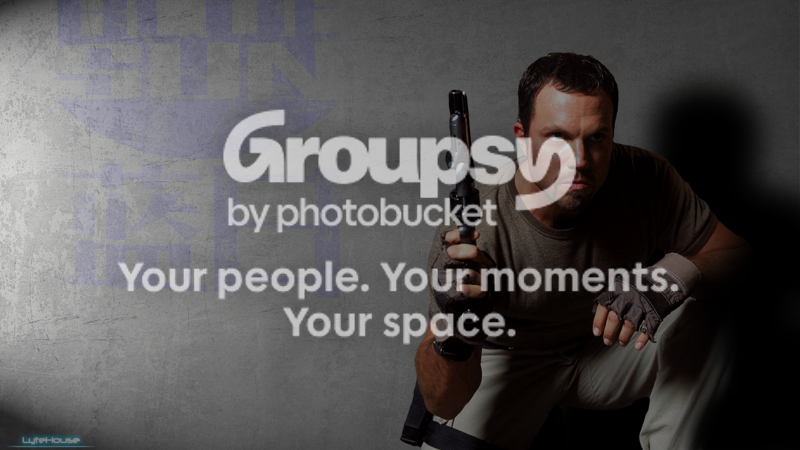
High Def 1920x1080 -----> http://i170.photobucket.com/albums/u245/DeathsHead77_photo/Blue-Sun-Jayne-Final.png

High Def 1920x1080 -----> http://i170.photobucket.com/albums/u245/DeathsHead77_photo/Blue-Sun-Mal-Final.png
Blue Sun: Jayne
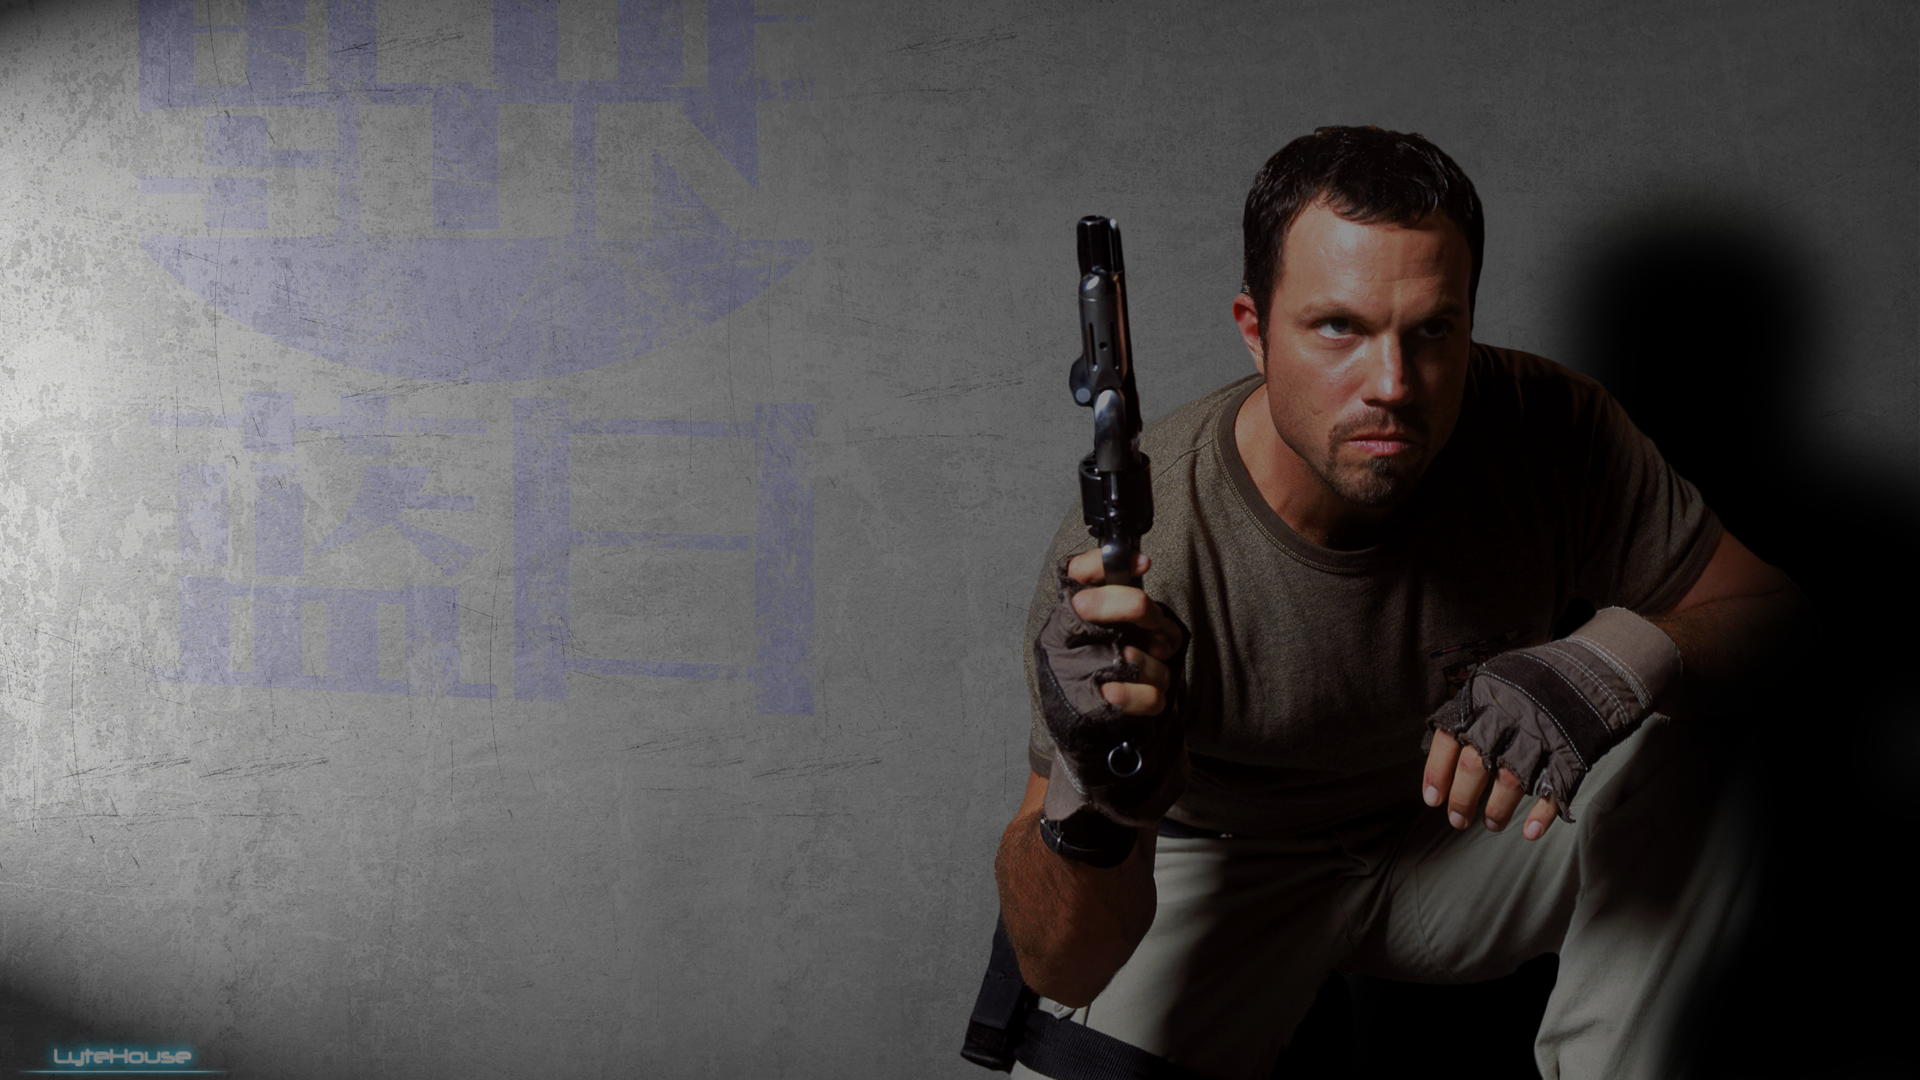
High Def 1920x1080 -----> http://i170.photobucket.com/albums/u245/DeathsHead77_photo/Blue-Sun-Jayne-Final.png
Hope you enjoy.
BuffyElevated
Scooby
I love both of those... The Mal one is amazing, but the Jayne one is my fave... It actually looks like an official promo.
C
charmedones193
Guest

WileyDairyGnome
Strong like an Amazon
Thanks again for the kind words of encouragement folks! 😱
Continuing the Firefly theme, Imma mocked up a new wallpaper for a Serenity sequel (wishful thinking yeah...) using a few simple stock images - nothing too fancy, just a bit of fun.
I couldn't think of a decent title for the movie, I was playing around with Serenity: The Legend of Book's Gold and Serenity: The Nethers of Kaylee.
But in the end I just went with Serenity II. Meh.
As usual this works best at full size so just click on the image or follow the link. Hope you like, or feel free to point and laugh.
Continuing the Firefly theme, Imma mocked up a new wallpaper for a Serenity sequel (wishful thinking yeah...) using a few simple stock images - nothing too fancy, just a bit of fun.
I couldn't think of a decent title for the movie, I was playing around with Serenity: The Legend of Book's Gold and Serenity: The Nethers of Kaylee.
But in the end I just went with Serenity II. Meh.
As usual this works best at full size so just click on the image or follow the link. Hope you like, or feel free to point and laugh.
Serenity II

High Def 1920 x 1080: http://i170.photobucket.com/albums/u245/DeathsHead77_photo/serenity-II-final.png

High Def 1920 x 1080: http://i170.photobucket.com/albums/u245/DeathsHead77_photo/serenity-II-final.png
Last edited:
Taake
I adore this one so much! Gorgeous
